 How To Clean Vape Cartridge
To clean a vape cartridge, gently wipe the metal connection threads with a cotton swab lightly dipped in rubbing alcohol, then let the cartridge dry completely before using it again. This helps remove sticky oil residue that can interfere with the connection and affect performance.
If you're not sure how to do it safely or you're worried about damaging the cartridge, don't worry. In this guide, we'll walk you through exactly how to clean vape cartridge step by step, along with a few tips to help keep it working properly for longer. Let's get started.
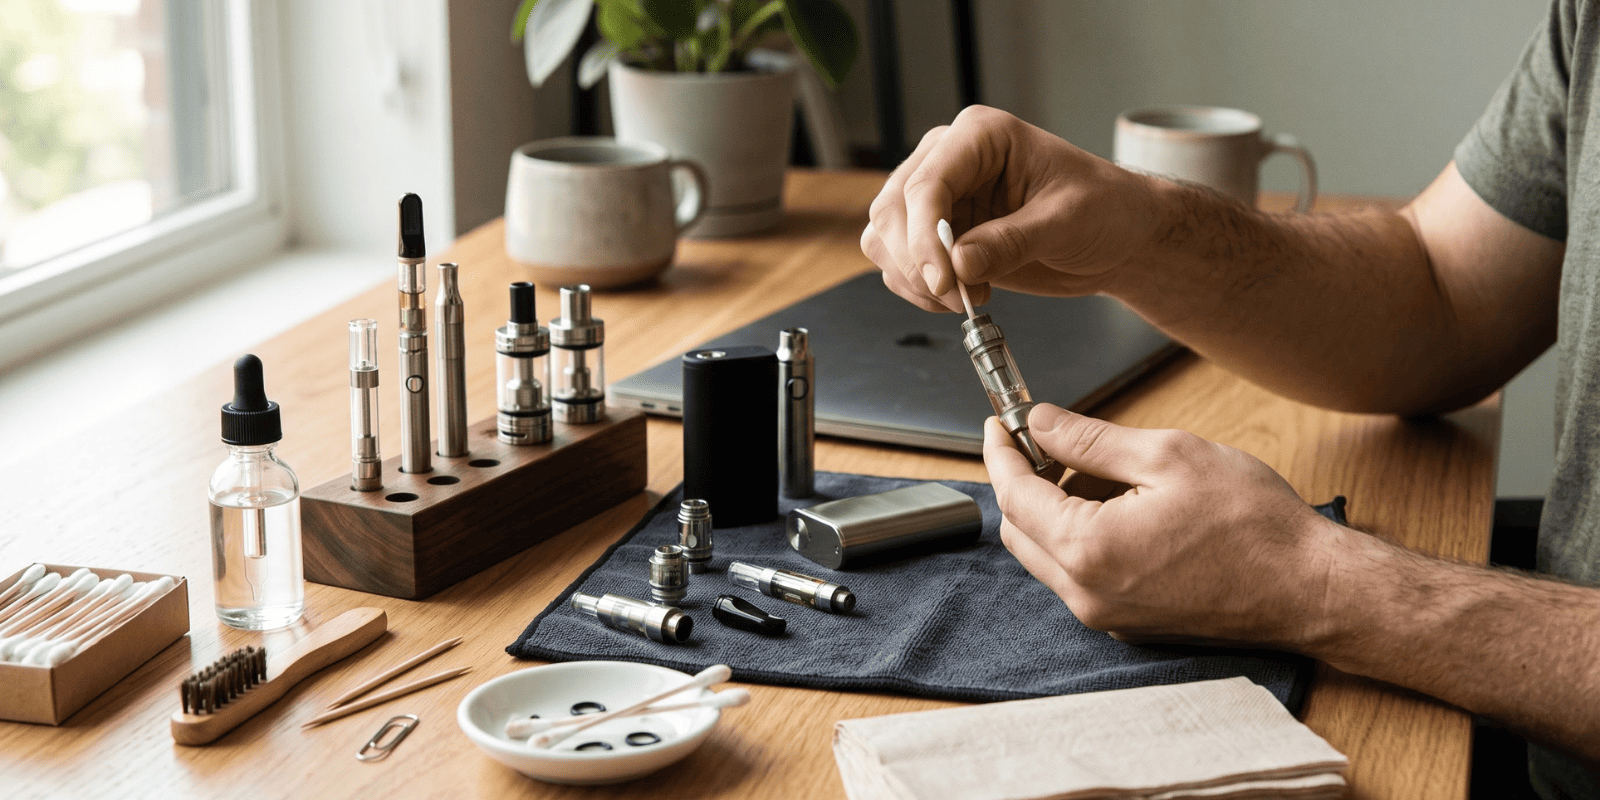
How To Clean A Vape Pen Cartridge: What You'll Need
Before you begin, gather these supplies:
91% or 99% isopropyl alcohol (evaporates quickly and leaves minimal residue)
Cotton swabs (Q-tips)
Safety pin, toothpick, or straightened paperclip
Paper towels or a lint-free cloth
Table Of Contents:
How To Clean Vape Cartridge: Step-by-Step Process
Pro Tips To Keep Your Vape Cartridge Clean
Frequently Asked Questions
How To Clean Vape Cartridge: Quick Recap!
How To Clean Vape Cartridge: Step-by-Step Process
Cleaning a vape cartridge usually takes 5 to 10 minutes and requires only a few household items. Regular cleaning helps remove sticky oil residue, prevents clogged airflow, improves the connection between the cartridge and battery, and can extend the life of your device.
The exact cleaning method depends on the type of cartridge you have. Pre-filled or disposable cartridges only need surface cleaning, while refillable cartridges or tanks can be disassembled for a more thorough clean.
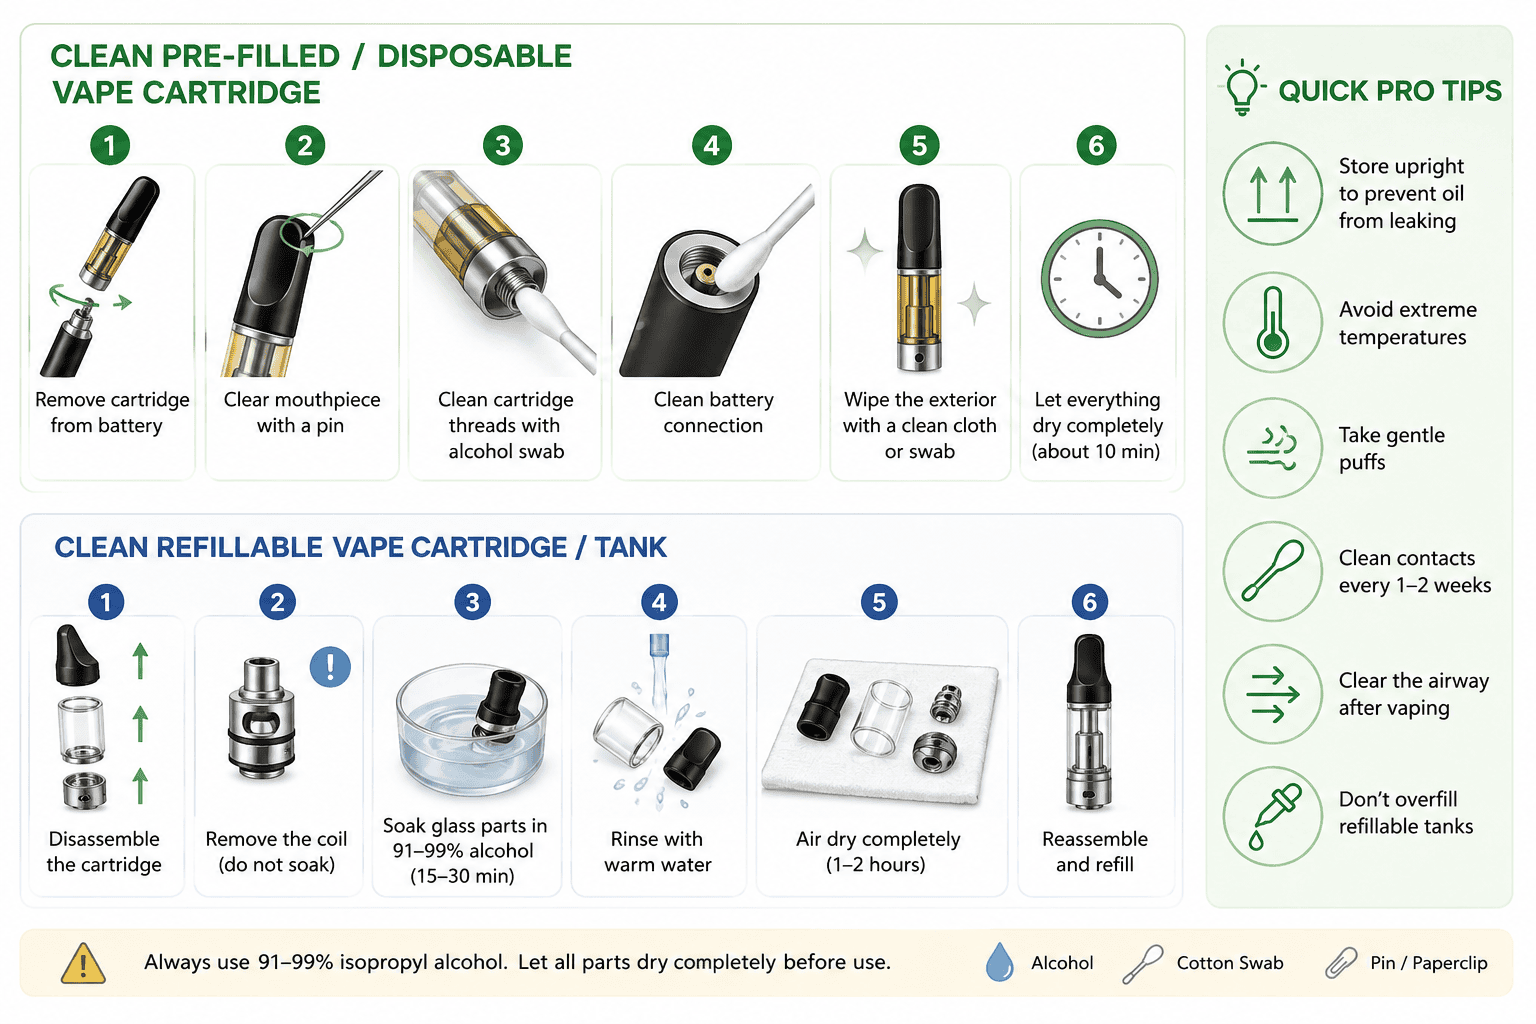
How To Clean A Pre-Filled or Disposable Vape Cartridge
These cartridges are not designed to be opened, so never submerge them in alcohol or attempt to take them apart.
Step 1: Remove The Cartridge From The Battery
Unscrew the cartridge from your vape battery before cleaning. This prevents accidental firing and gives you access to the connection points.
Step 2: Clear The Mouthpiece
Insert a safety pin, toothpick, or straightened paperclip into the mouthpiece opening.
Gently rotate it to remove:
Hardened oil
Pocket lint
Dust
Other debris blocking the airflow
Be careful not to push too deep, as this can damage the internal airflow tube.
Step 3: Clean The Connection Threads
Lightly dampen a cotton swab with 91% or 99% isopropyl alcohol. The swab should be moist, not dripping.
Use it to wipe the metal threads and center contact pin at the bottom of the cartridge until no sticky residue remains.
Step 4: Clean The Battery Connection
Using a fresh alcohol-dampened cotton swab, gently clean the threaded connection and center contact inside your vape battery.
Removing oil buildup from both the cartridge and battery helps maintain a reliable electrical connection.
Step 5: Wipe The Exterior
Use the clean side of the cotton swab or a lint-free cloth to wipe the outside of the mouthpiece and cartridge body.
This removes fingerprints, residue, and any remaining oil.
Step 6: Let Everything Dry
Allow the cartridge and battery to air dry for about 10 minutes before reconnecting them. Do not use the device until the alcohol has completely evaporated.
Note: Avoid using water on electrical contacts or inside a pre-filled cartridge, as moisture can damage the device or affect performance. |
✍️ Also Read:Disposable Vape vs Pod System.
How To Clean A Refillable Vape Cartridge Or Tank
Once your refillable vape cartridge or tank is empty, you can disassemble it and clean each component to remove residue before refilling or switching flavors.
Step 1: Disassemble The Cartridge
Carefully take apart the cartridge by removing the:
Mouthpiece
Glass tank or reservoir
Metal base
Separate all removable components before cleaning.
Step 2: Remove The Coil
Take out the heating coil (atomizer) and set it aside. Do not soak the coil in alcohol or water, as most coils contain cotton wicking material that can be permanently damaged when wet.
Instead, simply wipe the outside of the coil with a dry paper towel if needed.
Step 3: Soak The Glass Components
Place the glass tank and mouthpiece in a small container filled with 91% or 99% isopropyl alcohol. Let them soak for 15 to 30 minutes to dissolve stubborn oil residue and buildup.
Step 4: Rinse With Warm Water
Remove the parts from the alcohol and rinse them thoroughly under warm running water. This helps remove any remaining alcohol or loosened residue.
Step 5: Dry Completely
Place all cleaned parts on a paper towel and allow them to air dry for 1 to 2 hours. Every componentmust be completely dry before reassembly. Any trapped moisture can dilute your e-liquid, affect vapor production, or damage the battery connection.
Step 6: Reassemble And Refill
Once everything is fully dry:
Reinstall the coil.
Reassemble the cartridge or tank.
Fill it with fresh e-liquid or oil according to the manufacturer's fill line.
✍️ Also Read: How To Refill A Vape Pod: Quick Guide.
Pro Tips To Keep Your Vape Cartridge Clean
Here’s a list of a few simple habits to reduce buildup, prevent clogs, and keep your cartridge performing at its best.
Store it upright: Keep your vape standing vertically to prevent oil from pooling in the mouthpiece or airflow tube.
Avoid extreme temperatures: Heat can cause leaks, while cold temperatures can thicken the oil and restrict airflow.
Take gentle puffs: Slow, steady draws reduce the chance of pulling excess oil into the airway.
Clean the contacts regularly: Wipe the cartridge threads and battery connection every 1 to 2 weeks or whenever you notice sticky residue.
Clear the airway after vaping: Take a gentle 1 to 2-second draw without activating the battery to remove leftover vapor before it condenses.
Don't overfill refillable tanks: Leave a small air gap to reduce leaks and prevent e-liquid from entering the airflow channel.
Frequently Asked Questions
1. Can you clean a vape cartridge instead of replacing it?
Yes, in many cases. Cleaning can remove sticky residue, clear minor clogs, and improve the connection between the cartridge and battery. However, if the cartridge has cracked, leaks heavily, or no longer produces vapor after cleaning, it's usually time to replace it.
2. Why does residue build up inside a vape cartridge?
Residue forms when small amounts of vapor or oil cool and harden inside the mouthpiece or airflow channel. Frequent use, thick oils, long draws, and storing the cartridge sideways can all contribute to buildup over time.
3. Can I clean a pre-filled vape cartridge with water?
No. Pre-filled cartridges are sealed units and should never be rinsed or submerged in water. Moisture can damage the internal components and contaminate the oil.
4. How often should I clean my vape cartridge?
For most users, wiping the cartridge threads and mouthpiece every 1 to 2 weeks is enough to prevent residue buildup. If you use refillable cartridges, it's also a good idea to clean the tank whenever you switch e-liquid flavors and perform a deeper clean every few weeks if residue becomes noticeable.
5. Does cleaning fix a burnt-tasting vape cartridge?
Not always. Cleaning removes residue and improves airflow, but it won't repair a burnt or damaged heating coil. If your cartridge still tastes burnt after cleaning, the coil has likely reached the end of its lifespan and should be replaced.
✍️ Learn more: How To Fix A Burnt Vape Tips.
6. What is the best way to unclog a vape cartridge?
Start by gently warming the cartridge with your hands or by using your battery's preheat function, if available. Then carefully remove any hardened residue from the mouthpiece using a safety pin or toothpick.
7. When should I replace my vape cartridge?
Replace your cartridge if you notice any of the following:
Cracks in the glass or plastic tank
Heavy leaking that continues after cleaning
Stripped or damaged threads
Weak vapor or muted flavor that doesn't improve after cleaning
A burnt taste caused by a worn-out coil
✍️ Learn More: How To Fix Burnt Coil Without Replacing.
How To Clean Vape Cartridge: Quick Recap!
✔️ Clean the cartridge connection and mouthpiece to remove sticky oil and maintain consistent performance.
✔️ Only clean the exterior of pre-filled cartridges. Avoid opening or soaking sealed cartridges.
✔️ Disassemble refillable cartridges for a deeper clean, but keep the coil out of alcohol and water.
✔️ Allow all components to dry completely before reassembling or using the cartridge again.
✔️ Replace the cartridge if it's cracked, leaking excessively, or continues to produce a burnt taste after cleaning.
Related Reads:
Disclaimer: This guide is intended for general informational purposes only. Always follow the cleaning and maintenance instructions provided by your vape device or cartridge manufacturer. Improper cleaning or disassembly may damage your device. Never clean or use a cartridge while it is connected to a power source, and only use high-purity isopropyl alcohol on compatible components.